
Types of Tracks
Straights:
Straight Track (0°)
- Area: 1x1
- Track Beds: 1
- Fastenings: 1
- Rails: 1
- Plates: 1
Straight Track (0°,2m)
- Area: 1x2
- Track Beds: 2
- Fastenings: 2
- Rails: 2
- Plates: 2
Straight Track (0°, 4m)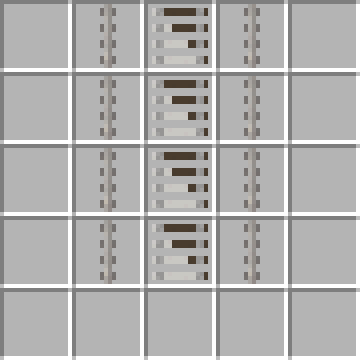
- Area: 1x4
- Track Beds: 4
- Fastenings: 4
- Rails: 4
- Plates: 4
Straight Track (0°, 8m)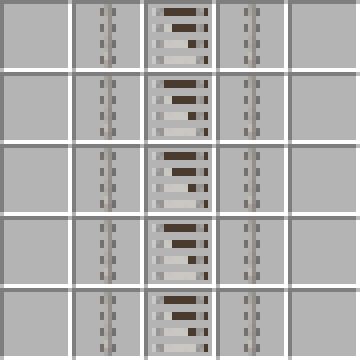
- Area: 1x8
- Track Beds: 8
- Fastenings: 8
- Rails: 8
- Plates: 8
Straight Maintenance Track (0°)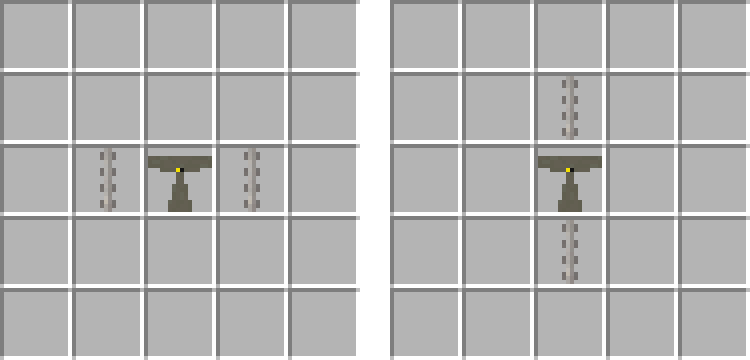
- Area: 1x1
- Stilts: 1
- Fastenings: 1
- Rails: 1
Straight Track (11°)
- Area: 2x5
- Track Beds: 5
- Fastenings: 5
- Rails: 5
- Plates: 5
Straight Track (18°)
- Area: 2x3
- Track Beds: 3
- Fastenings: 3
- Rails: 3
- Plates: 3
Straight Track (45°)
- Area: 1x1 (Overhanging)
- Track Beds: 1
- Fastenings: 1
- Rails: 1
- Plates: 1
Straight Track (45°,2m)
- Area: 1x2 (Overhanging)
- Track Beds: 2
- Fastenings: 2
- Rails: 2
- Plates: 2
Straight Track (45°,4m)
- Area: 1x4 (Overhanging)
- Track Beds: 4
- Fastenings: 4
- Rails: 4
- Plates: 4
Straight Track (45°,8m)
- Area: 1x8 (Overhanging)
- Track Beds: 8
- Fastenings: 8
- Rails: 8
- Plates: 8
Slope Track (10m)
- Area: 1x10
- Track Beds: 10
- Fastenings: 10
- Rails: 10
Slope Track (16m)
- Area: 1x16
- Track Beds: 16
- Fastenings: 16
- Rails: 16
Curves:
Curve Track (0° to 11°)
- Area: 2x10
- Track Beds: 10
- Fastenings: 10
- Rails: 10
Curve Track (11° to 18°)
- Area: 2x4
- Track Beds: 4
- Fastenings: 4
- Rails: 4
Curve Track (18° to 45°,6m)
- Area: 4x6
- Track Beds: 6
- Fastenings: 6
- Rails: 6
Curve Track (18° to 45°,10m)
- Area: 4x10
- Track Beds: 10
- Fastenings: 10
- Rails: 10
S-Curve Track (0°, 8m)
- Area: 2x8
- Track Beds: 8
- Fastenings: 8
- Rails: 8
Switches:
Switch Track (0° to 0°/11°)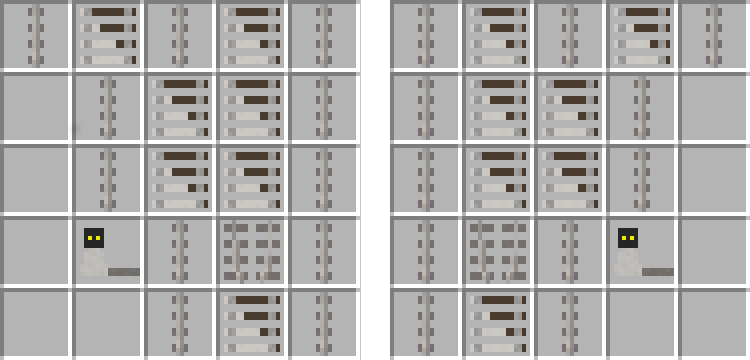
- Area: 2x10
- Track Beds: 7
- Fastenings: 11
- Rails: 11
Switch Track (11° to 11°/0°)
- Area: 2x10
- Track Beds: 7
- Fastenings: 11
- Rails: 11
Crossings:
Cross Track (0°)
- Area: 1x1
- Track Beds: 1
- Fastenings: 1
- Rails: 1
 Cross Track (0°/11°)
- Area: 1x10
- Track Beds: 11
- Fastenings: 11
- Rails: 11
Cross Track (11°/11°,10m)
- Area: 1x10
- Track Beds: 11
- Fastenings: 11
- Rails: 11
Cross Track (11°/11°,5m)
- Area: 1x5
- Track Beds: 6
- Fastenings: 6
- Rails: 6
Cross Track (45°)
- Area: 1x1
- Track Beds: 1
- Fastenings: 1
- Rails: 1
Others:
Buffer Track (0°)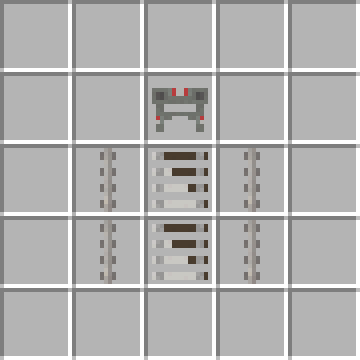
- Area: 1x2
- Track Beds: 2
- Fastenings: 2
- Rails: 2
- Plates: 1
- Buffer: 1
Buffer Track (11°)
- Area: 1x2
- Track Beds: 2
- Fastenings: 2
- Rails: 2
- Plates: 1
- Buffer: 1
Buffer Track (18°)
- Area: 1x2
- Track Beds: 2
- Fastenings: 2
- Rails: 2
- Plates: 1
- Buffer: 1
Buffer Track (45°)
- Area: 1x2
- Track Beds: 2
- Fastenings: 2
- Rails: 2
- Plates: 1
- Buffer: 1
Transition Track (0°)
- Area: 1x2
- Track Beds: 2
- Fastenings: 2
- Rails: 2
Further Information
Maintenance Track (0°)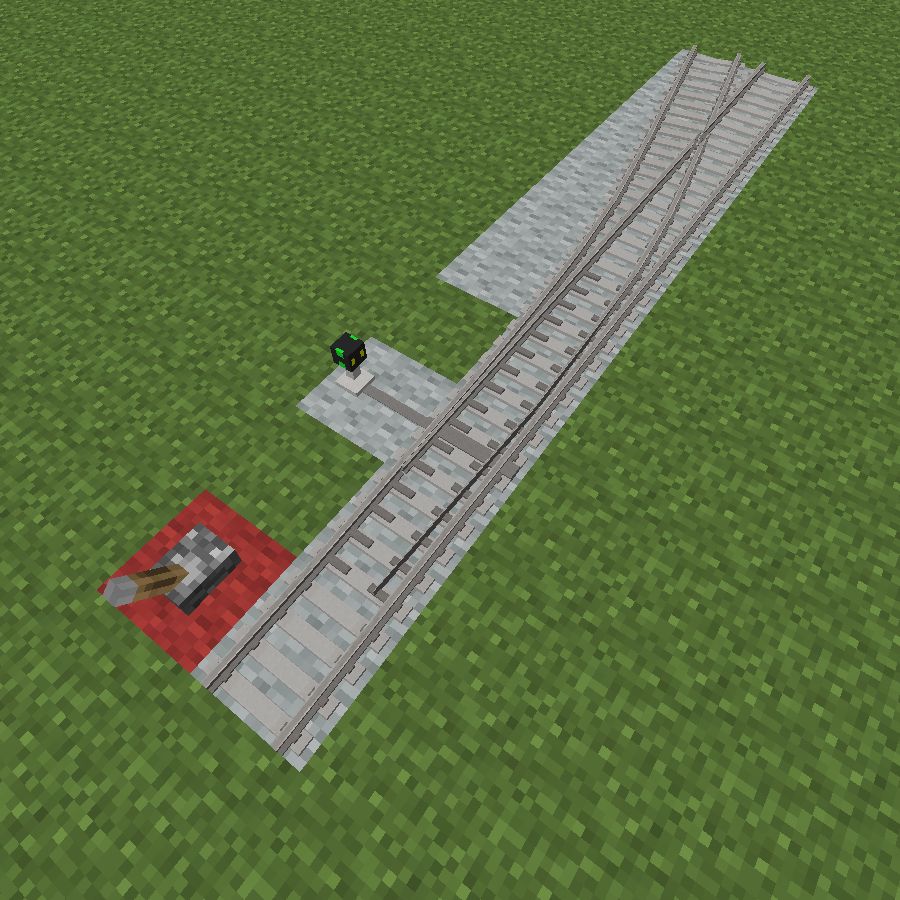
The Maintenance Track requires Stilts instead of Track Beds for construction. This track is 1 metre (= 1 block) above ground level and can be used to view a vehicle from below. Maintenance Tracks are also an essential part of the process of train creation. Right-clicking the Maintenance Track with a crowbar hides its stilt.
Switch Track (0° to 0°/11°)Tracks
Different types of track beds influence the behavior of Switch Tracks; If Wooden Track Beds are applied, the switch can be activated manually, while Concrete Track Beds make the switch react to Redstone states. To move a switch by Redstone state, remove the switching lever with the crowbar (rightclick) and apply the pulse to the origin (=source track) of the switch (see image on the right). Applying a redstone pulse to the switch changes the path it is set to.