Magnets, Paths & Signals
Here you can learn everything about the built in signaling system!
Configuring Magnets
Magnets are the core component of ZnDs MTCS system (similar to ETCS). MTCS is a system made for controlling trains and using autodrive.
Placing magnets:
Magnets can be placed on these tracks:
|
To add a magnet to one of these tracks simply rightclick your track with the Magnet [Railway Part] item. Magnets are directional (they work only in one direction), so make sure to place them (and the corresponding track) while facing in the correct direction!
WARNING: Copying magnets with a Railway Worker's Tool also copies the magnets config. To avoid problems with the configuration always use freshly placed, not copied, magnets.
|
![Magnet [Railway Part]](https://zoranodensha.de/uploads/images/gallery/2025-04/ukvgrafik.png) |
Configuring magnets:
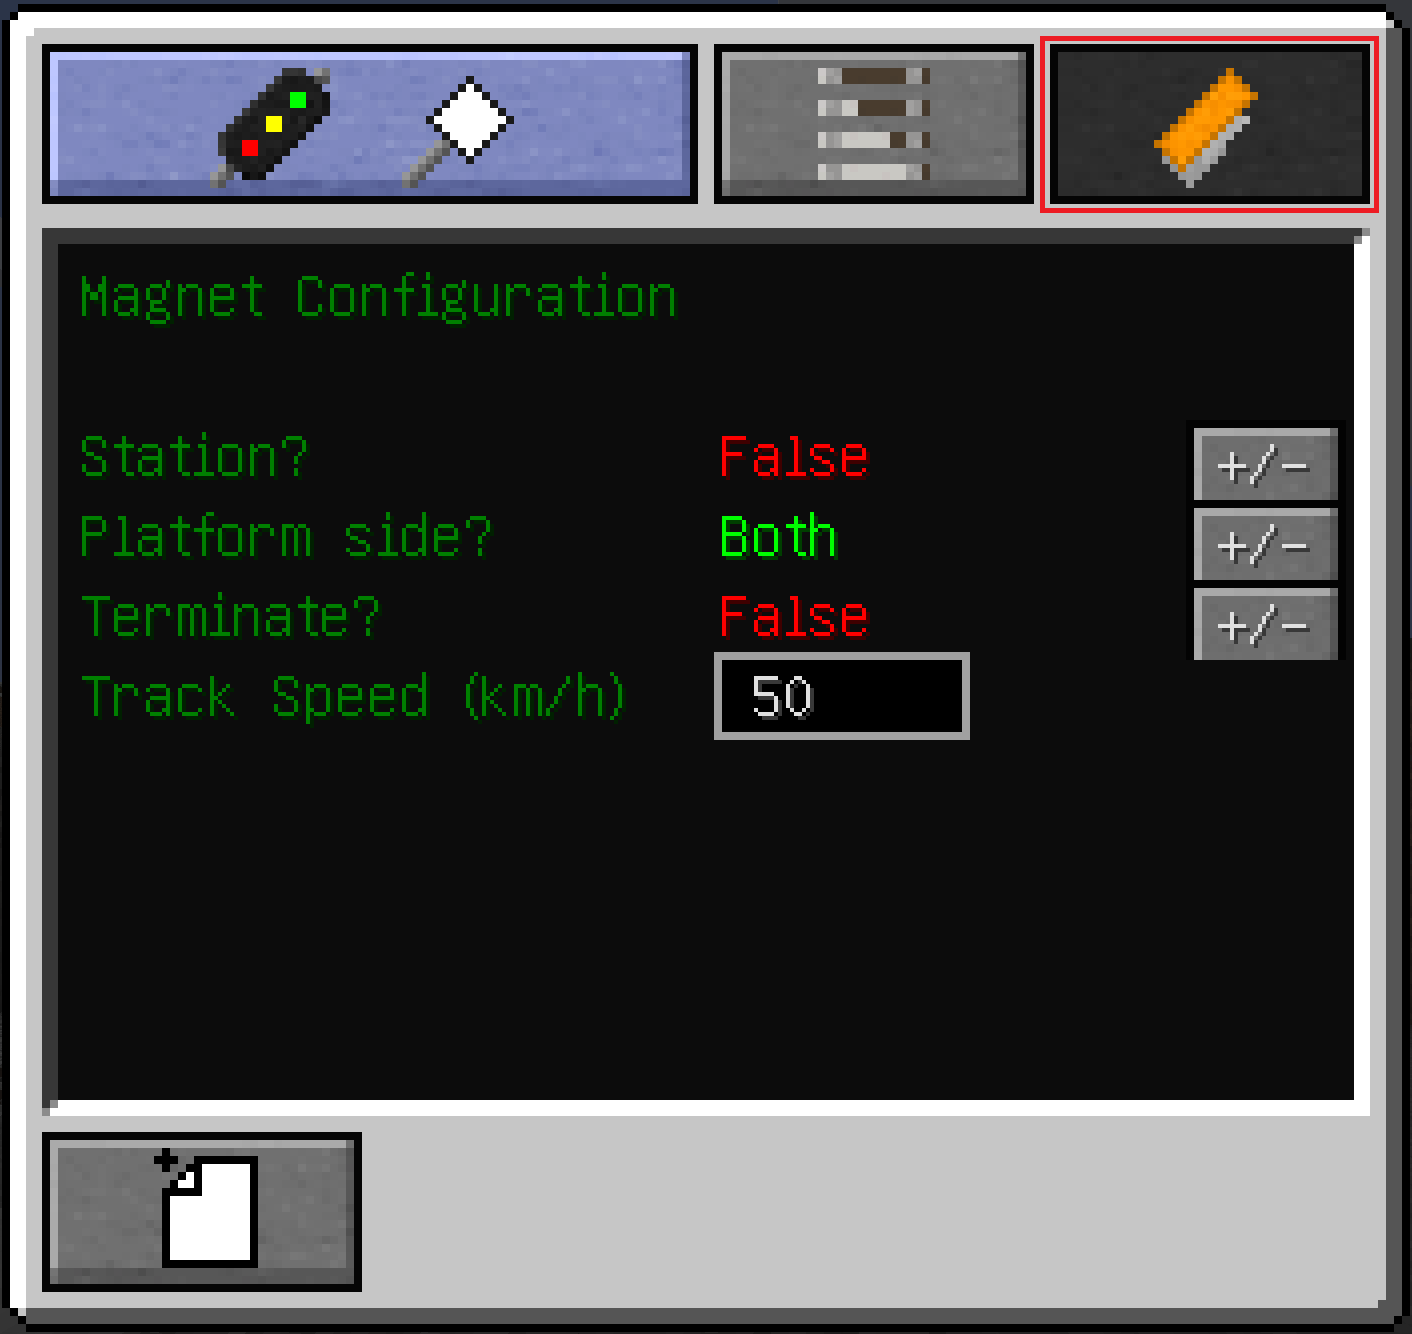
| To configure magnets you need a Signaller's Tool. This tool can only be used to set a magnets configuration. It displays the most recently setup config. There currently is no way of reading a magnets config other than placing down a train and having a look at the next upcoming speed limit. |
 |
You may now configure the magnet according to your needed function. To apply this configuration to the magnet, exit this menu by pressing ESCAPE, hold SHIFT and RIGHTCLICK your magnet.
If done correctly it should say: zoranodensha - Applied settings to magnet |
 |
Linking Signals to Magnets
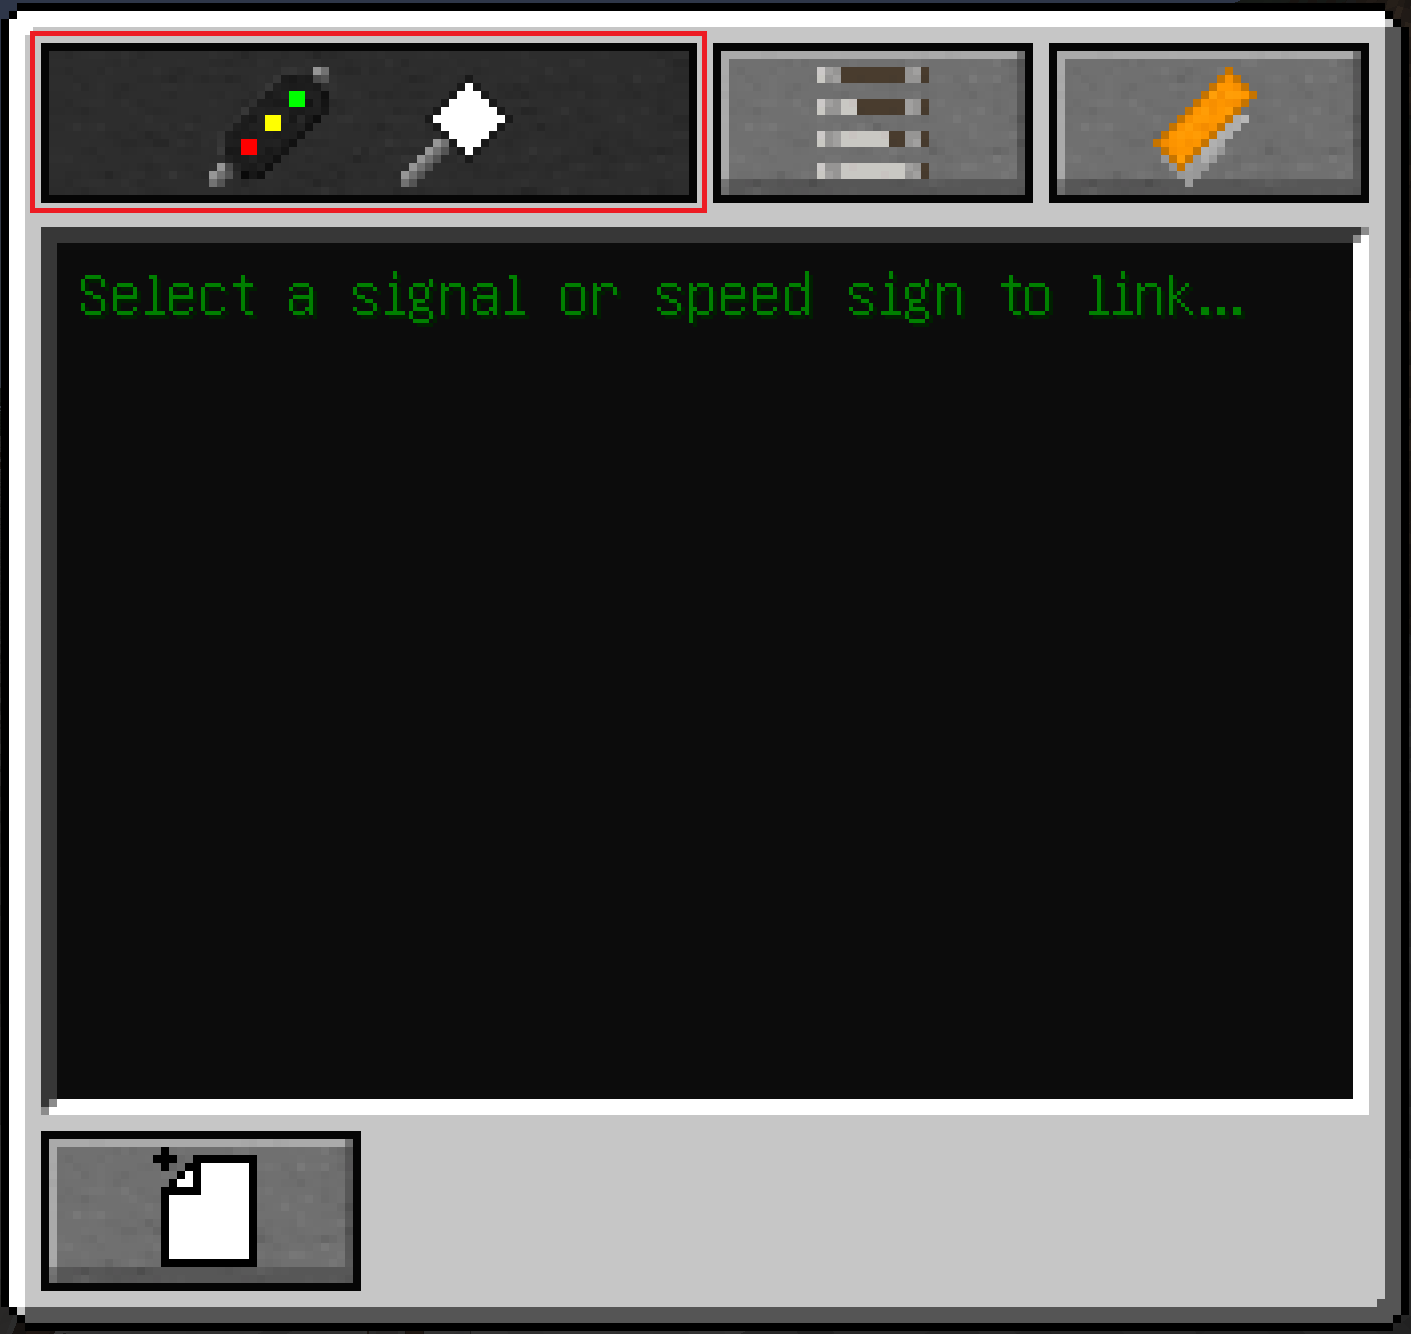
Signals do not have any effect on your train if they are not linked to a track magnet.
To link a signal to a track magnet you once again need your Signaller's Tool.
|
 |
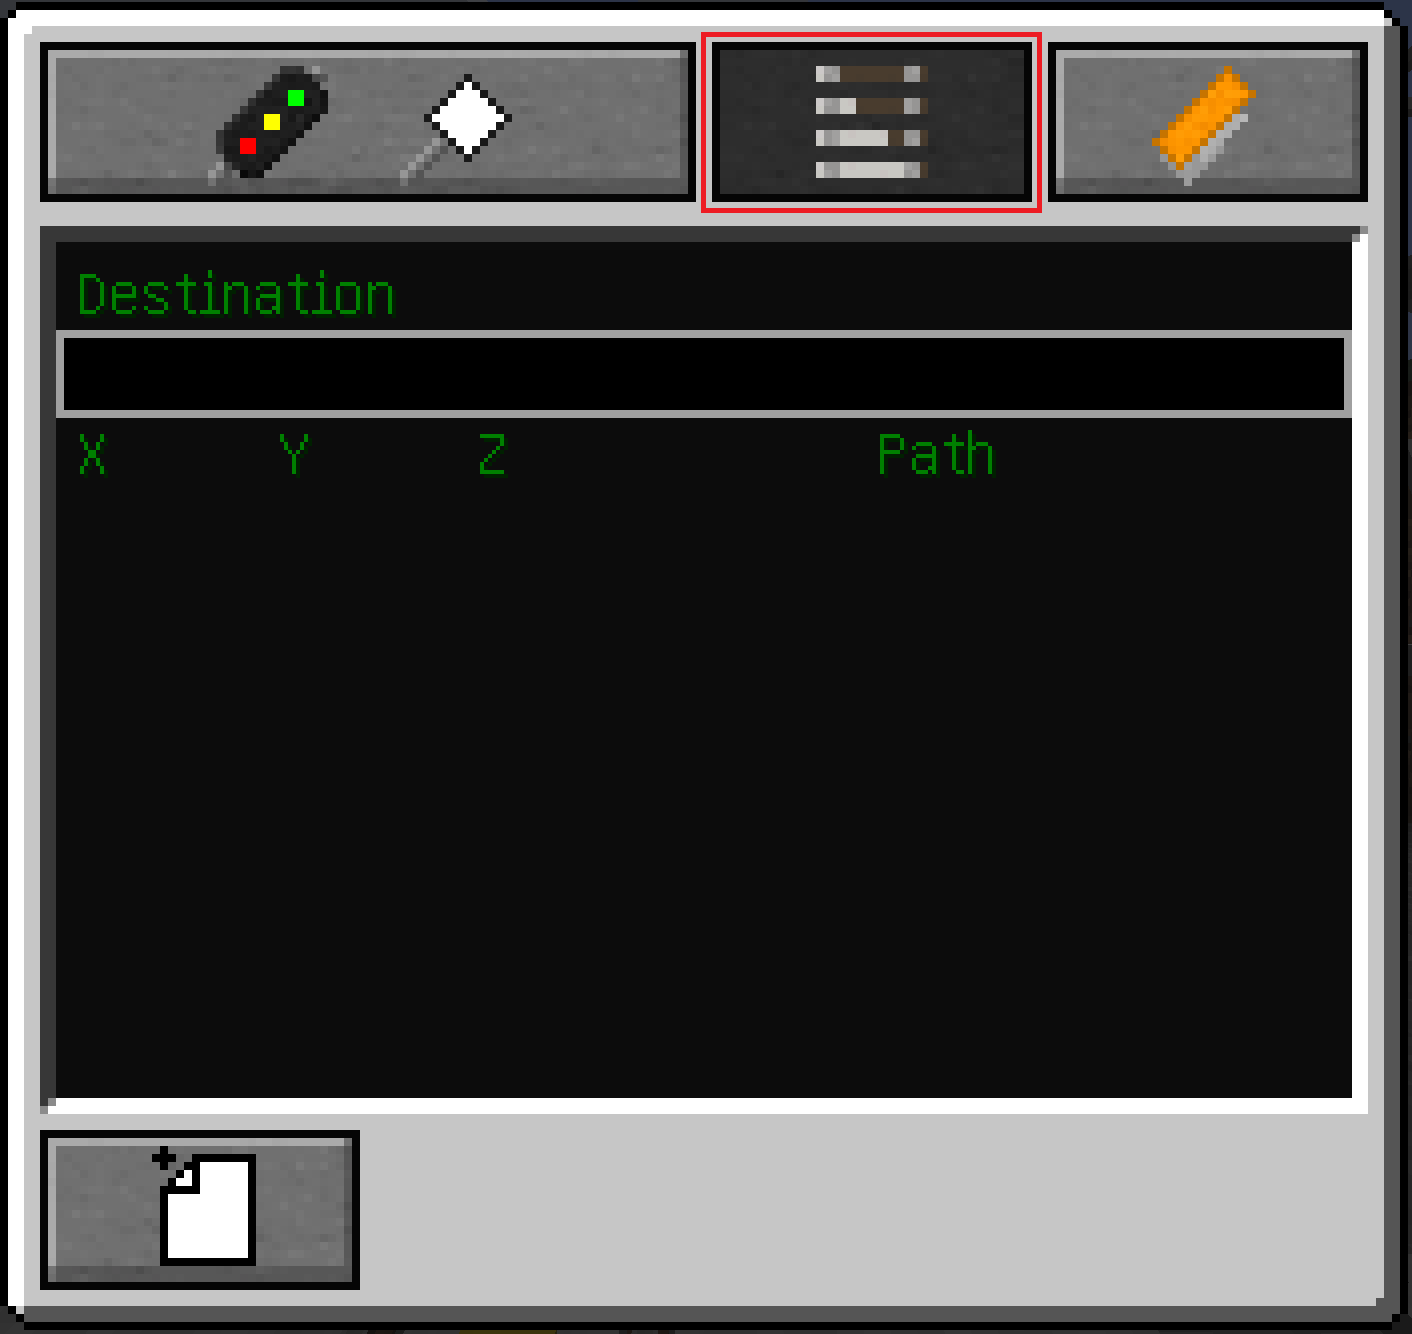
Creating Paths
Paths are used to tell trains where to go. If an autodriving train is configured with a path it tries to follow this path until there is no more path of this name found in the next signal.
Preparation:
Make sure that all of your switches are put in the right position for the path you are configuring. This cannot be changed after the track is selected with your Signaller's Tool.
Creating a Path:
|
 |
Selecting a Path:
Simply type /setdest {insert path name}in the chat. The MTMS-Display should then display upcoming speed limits and your train (if autodrive is turned on) should begin driving.
Types of Signals
Whether you are building a high speed train, tram line or regional service, signals are on of the essentials which everyone of these needs.
Since ZnD v0.9.1 ZnD has its own signals built in, but since v0.10. you can expand these standard signals with signalpacks.
Settings:
Signal Settings:
These settings are common among all signals, even signals from signalpacks.
Values: 0 = "off", 1 = "on"
| Name: | Function: | Default |
| Post Offset L/R | Offsets a signal to the left or right. -1 = offset to the left, 0 = centered on base, 1 = offset to the right |
1 |
| Load Chunks | Loads chunks which a selected path crosses | 0 |
| Redstone Mode |
Can lock the signal when a redstone signal is present/absent:
|
0 |
| One Way | Trains can pass the signal only in one direction | 0 |
Path Settings:
Values: 0 = "off", 1 = "on"
| Name: | Function: | Default |
| Big Black Box | Path name | -- |
| Default |
Sets Path as the signals default path |
-- |
| Shunting |
Lets a train pass the signal even if |
-- |
| Speed | Sets the Paths vMax | 40/-- |
| Route |
Sets the paths nickname |
-- |
| Duplicate | Duplicates a path and all of its settings (apart from "Default") | -------------------------------------------------------------------------------------------- |
| Delete | Deletes a path from the signal. This CANNOT be undone! |
-------------------------------------------------------------------------------------------- |
Default Signals:
- Block Signal
- Distant Signal
- Tunnel Signal
- Dwarf Signal
- Tram Signal:
Good to know:
Tram Signal:
Setting the Route Setting to L or R Displays a \ or / instead of | when the path is selected:
L = \
-- = |
R = /
Default Signs:
- Speed Limit Sign
- MTCS Flag Signal
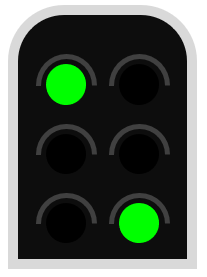
Signal Aspects
This is an overview of how the default signalling system that comes with Zora no Densha works.
| Main Signal Aspect | Distant Signal Aspect | Indication | Meaning |
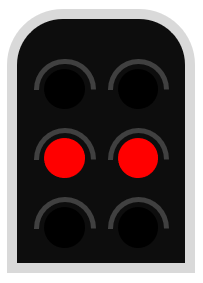 |
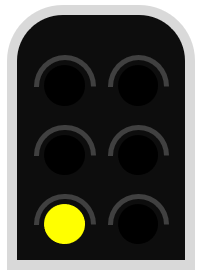
STOP | Stop before the signal - passing is not permitted. | |
 |
 |
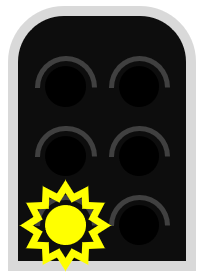
CAUTION | Proceed at normal speed. Expect the next signal to be displaying STOP. |
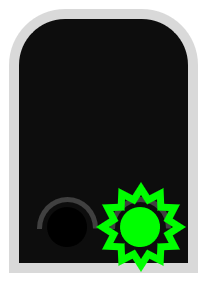
 |
 |
EXPECT SLOW | Proceed at normal speed, prepared to do 40 km/h at the next signal. |
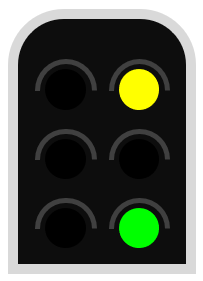
 |
 |
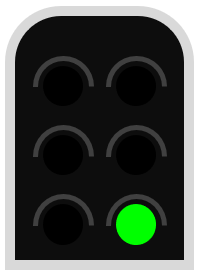
CLEAR | Proceed at normal speed. Expect the next signal to be at worst a CAUTION. |
 |
 |
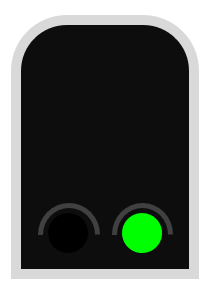
HIGH SPEED | Proceed at normal speed. At least 3 blocks ahead are unoccupied. The next signal is at worst a CLEAR or EXPECT SLOW |
 |
CLEAR SLOW | Proceed at 40 km/h, unless indicated otherwise. The next signal will be displaying a proceed indication, at worst a CAUTION. | |
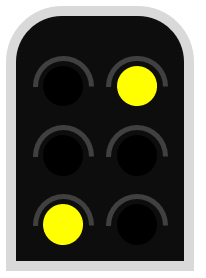 |
CAUTION SLOW | Proceed at 40 km/h (unless indicated otherwise). Expect the next signal to be displaying STOP. | |
 |
SUSTAINED SLOW | Proceed at 40 km/h (unless indicated otherwise), prepared to do 40 km/h at the next signal. |